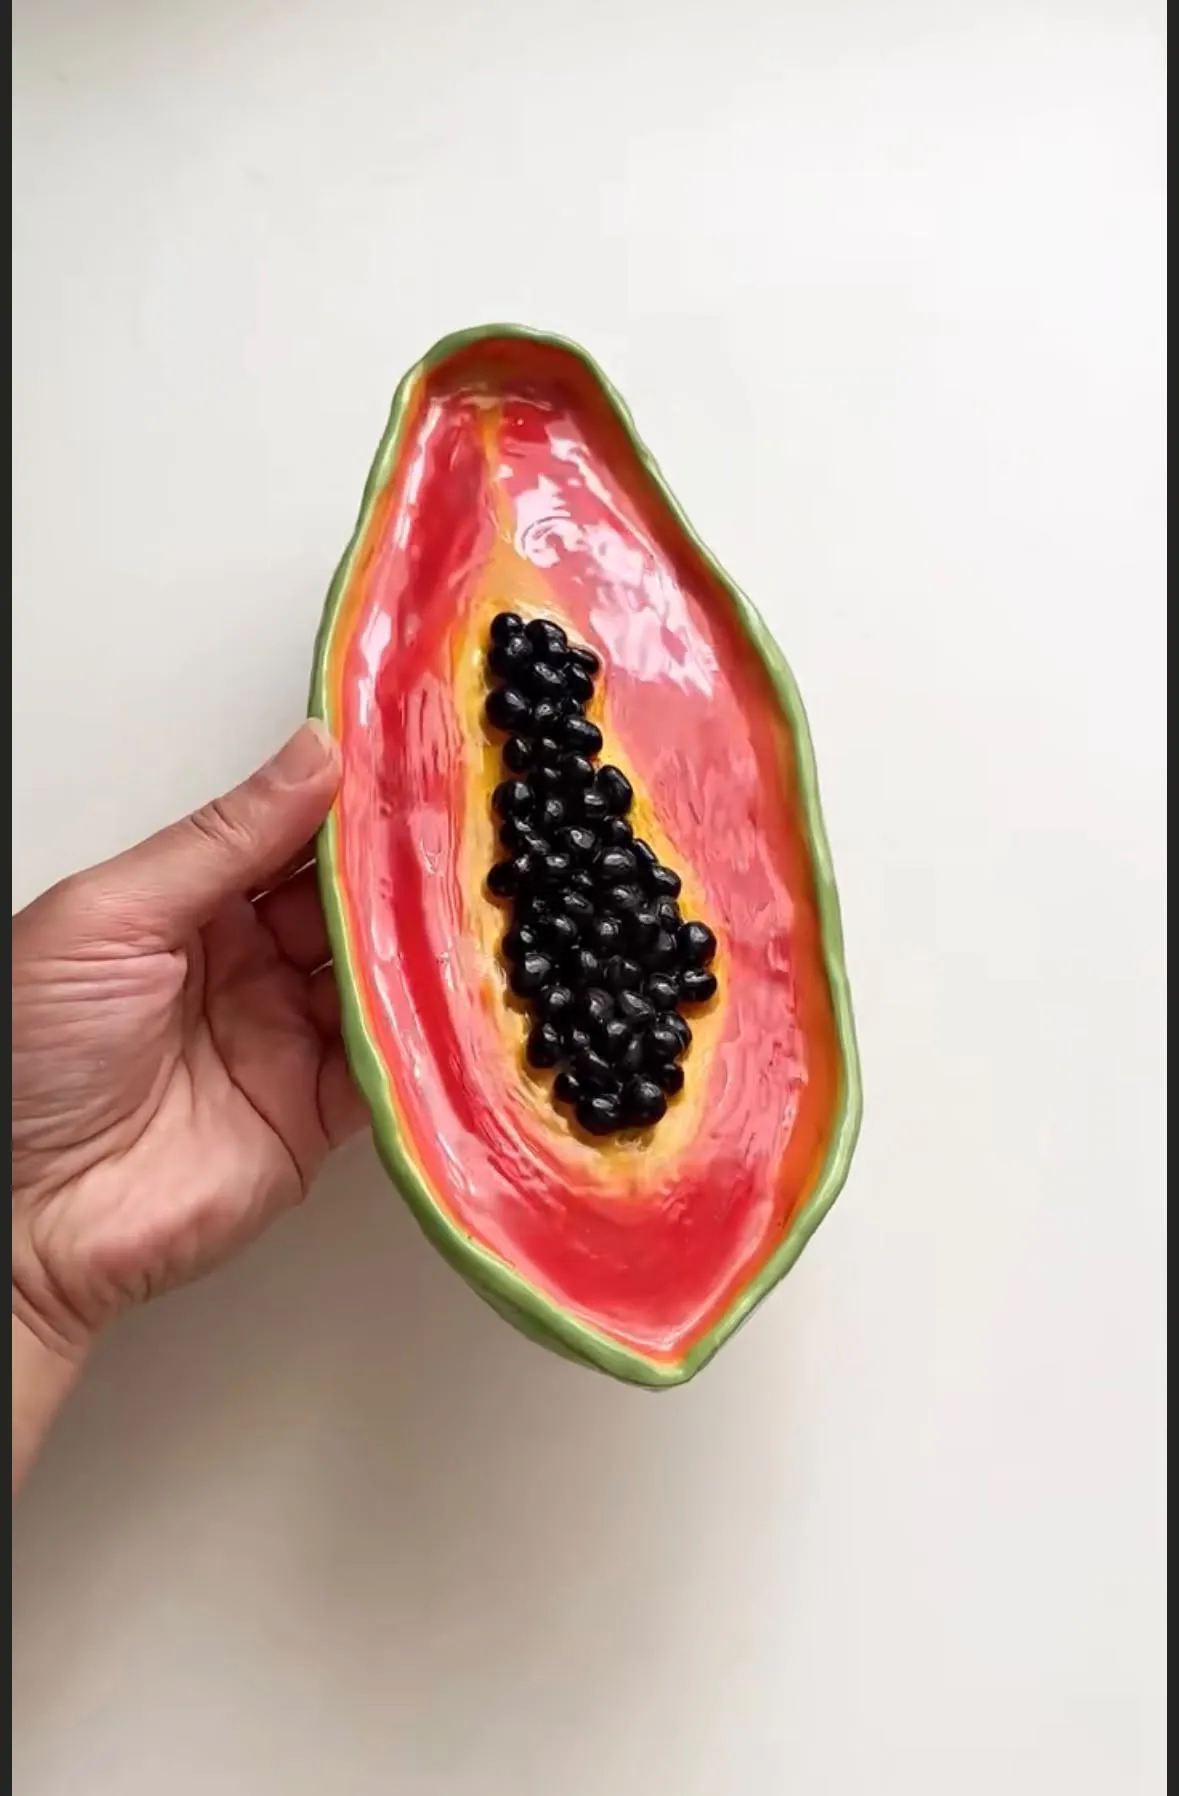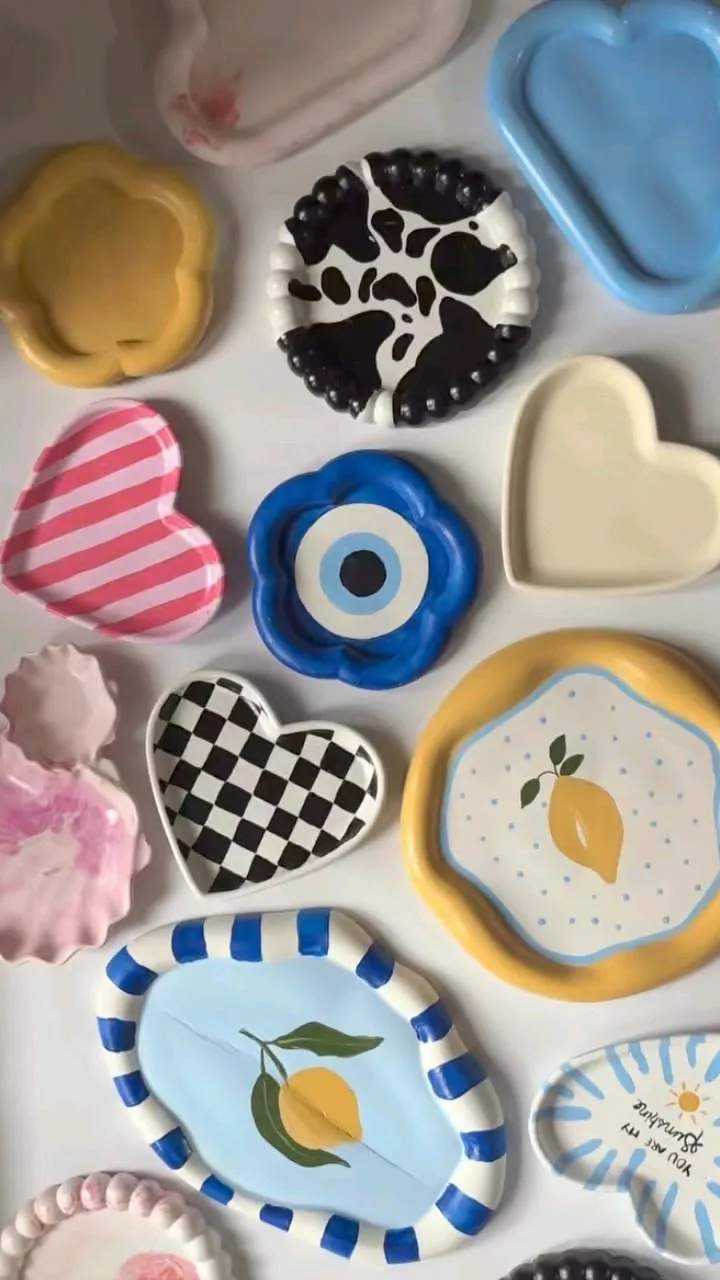
Air-dry clay, also called no-bake clay, is the simplest way into hand-building: it dries in the open air in one to three days, needs neither a kiln nor expensive equipment and takes acrylic paint. It is the clay we use in our workshops, precisely because a beginner gets a clean result in a single session.
This guide covers what we explain to every group: the basic materials, the moves that avoid cracks, realistic drying times, finishes and ten easy project ideas to start with.
What is air-dry clay?
It is generally a natural clay blended with fibres or binders that let it harden by simple evaporation of water, with no firing. It comes in white, terracotta and sometimes grey or black. Once dry, it stays lighter and more fragile than fired ceramic: it suits decorative objects, not tableware.
It differs from polymer clay (baked in a domestic oven) and from potter’s clay (fired at high temperature). Its big advantage for a beginner: you can work it on a kitchen table, with your hands and two or three tools.
The basic materials
- A 500 g to 1 kg block of air-dry clay: enough for three or four small objects.
- A smooth work surface: oilcloth, glass or silicone mat, baking paper.
- A rolling pin (or a bottle) and two wooden sticks of the same thickness to roll even slabs.
- A round-tipped knife, a toothpick, a sponge and a small bowl of water to cut, mark and smooth.
- Objects for imprints: leaves, lace, stamps, shells.
- Fine sandpaper, acrylic paint and a sealer for finishing.
Preparing and shaping
Knead the clay for a minute or two to soften it and push out air bubbles, keeping it slightly moist. Three techniques cover most projects. The slab: roll the clay between two sticks to get an even thickness, then cut the shape you want (trinket dish, ornament, coaster). The coil: roll ropes that you wind and smooth to build a small pot. The pinch: hollow a ball with your thumb while turning it, for a bowl or a candle holder.
To join two pieces, score the contact surfaces with the toothpick, moisten them and press firmly. Then smooth the joins with the slightly damp sponge.
Avoiding cracks
- Even thickness: the number one cause of cracks. Aim for 5 to 8 mm everywhere and avoid very thin areas next to thick ones.
- Moisten the joins before assembling, never after.
- Slow drying: away from direct sun, radiators and draughts. A half-open plastic bag slows drying on the first day.
- Turn the piece every 12 hours so it dries on both sides and does not warp.
- Repair a small crack with a little clay diluted into a paste (slip), then smooth.
Drying times
Expect roughly 24 hours for a thin slab, 48 to 72 hours for an object 1 cm thick, longer for a solid piece or in damp weather. The clay lightens as it dries and sounds sharper when tapped. Never paint a piece that still feels cold to the touch: it still holds water.
Sanding, painting, sealing
Once dry, lightly sand the edges with fine sandpaper to remove fingerprints. Paint with acrylic in two thin coats rather than one thick one; acrylic markers work well for patterns. Finish with a matt or gloss acrylic sealer, two coats, which protects against dust and small splashes.
Two limits to know: even sealed, air-dry clay does not tolerate prolonged contact with water (no filled vase without an inner container) and is not suitable for direct food contact.
10 easy project ideas
- A trinket dish from a slab, with edges lifted by hand.
- Coasters, round or hexagonal, with a leaf imprint.
- A pinch-pot candle holder for a tealight.
- Hanging ornaments: stars, moons, initials, with a hole pierced before drying.
- A ring holder shaped like a hand or a cactus.
- A small coil pot for pencils or brushes.
- Beads pierced with a toothpick, to thread once dry.
- A plant saucer, with a separate cover pot.
- Magnets, by gluing a small magnet to the back after sealing.
- A flat incense holder with an angled hole.
Doing the workshop as a group
Shaping alone at home is pleasant, but clay is even more fun with others: everyone compares, helps each other and leaves with their own piece. Break-it runs an air-dry clay workshop in Brussels, at its studio on Rue de Flandre or at your place, for €35 per person, materials included, for a birthday, a hen party or a team building.
You now have everything you need to start: an even slab, slow drying and two coats of sealer are enough for a successful first object. To go further, discover our clay workshop, the very similar mosaic workshop, or our guide to making scented candles at home.